Build and Kill Zombies Supports: Contact vs Ranged Guide
What supports do in Build and Kill Zombies, how to roll and mount them, the contact vs ranged behavior families, and a short directory of the three documented supports with placement tips.
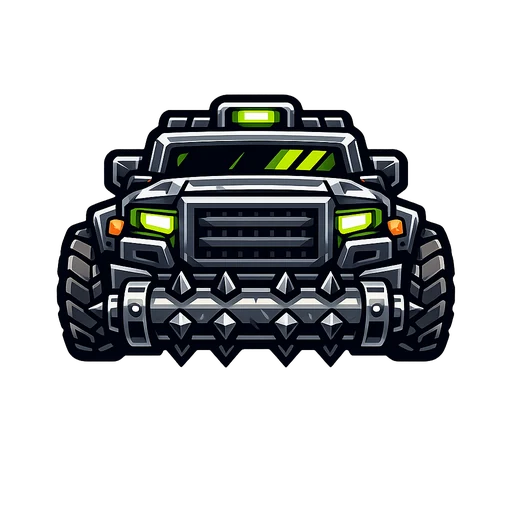
Supports in Build and Kill Zombies are the mounted weapons and defenses that damage zombies on or around your car. Only two behavior families are documented: contact supports deal damage physically — the Glass Cylinder damages anything touching the bumper, and the Shredder is a spiked roller that flattens zombies it rolls over — while ranged supports fire before contact, like the Crossbow, which needs a forward-facing mount with clear line of sight past the chassis edge. Only three supports (Glass Cylinder, Shredder, Crossbow) are currently documented; the full catalogue, remaining rarities, and roll odds have not been published.
How supports are acquired
Supports use the same roll-and-mount system as every other car part:
- Roll at the Car Parts station — rolls cost cash (about $50 per roll).
- Buy the weapon that comes up. The tutorial steers new players toward the Shredder.
- Open the Build menu and equip it from the Weapons tab on its marked spot. Some players open the menu with P, click on weapons, and add the support to the car from there.
Rolls cost cash whether or not you like the result, so finishing a run and banking the payout beats leaving early to reroll. Higher Luck shifts how often rarer entries appear on rolls; it does not change what a part does.
Mounting constraints
Parts only snap to highlighted, marked mounting spots on the chassis — there is no free placement. Within that constraint, placement still matters:
- Shredder: a low front mount so the roller contacts the ground line of the wave.
- Crossbow: a forward-facing mount with clear line of sight past the chassis edge.
- Glass Cylinder: sized to fit the front face of a starter chassis.
A car with no weapon still drives but earns far less, since kills are part of the payout. The weapons reference lists a weapon-slot cap tied to "Skill + Chassis," but how to unlock more slots is not documented — treat slot expansion as unknown until confirmed in-game.
Verified support directory
| Support | Rarity / Acquisition | Behavior family | Effect | Placement |
|---|---|---|---|---|
| Glass Cylinder | Uncommon | Contact | Contact damage on anything touching the bumper | Front face of a starter chassis; cheap enough to fit on run one |
| Shredder | Uncommon, 1 in 12 roll (Weapons tab, per first-run guide) | Contact | Spiked roller that flattens zombies it rolls over | Low front mount so the roller contacts the ground line of the wave |
| Crossbow | Dedicated station | Ranged | Ranged shot that fires before contact | Forward-facing mount with clear line of sight past the chassis edge |
The game publishes no official weapon stats; entries above reflect role descriptions from dated guides (checked September 2026), not verified damage numbers. Recheck effects and rarities after balance updates.
Choosing supports by build phase
- Waves 1–10 (damage first): Buy the cheapest rapid-damage weapon before anything else — early kills fund every later purchase. Keep driving, since a car that repositions survives longer and kills more per wave. Skip expensive single-target weapons until rapid damage is maxed for your cash tier.
- Waves 10–25 (balance): Add one survivability piece (walls, funnel, or armor-style defense) before the difficulty step-up. Keep scaling damage between defense purchases — clear speed is still your income. Rebuild sloppy layouts: straight walls and kill zones near your weapons beat scattered pieces.
- Waves 25+ (record pushes): Invest in heavy single-target damage to break the wave walls that end long runs. Add a second defensive layer when zombies start breaking through. Change one thing at a time so you know what worked.
- If overwhelmed mid-wave: funnel zombies with defenses so your weapons cover fewer angles at once. If surviving but earning nothing: trade one defensive piece for clear speed.
Supports and payouts
Run payouts come from the distance counter plus the zombies flattened along the way, so better weapons increase the kill side of the payout while engine and fuel parts push the distance side. For shared boss encounters, build for sustained damage rather than distance: a heavier chassis with more weapon slots is worth more during a boss window than a fast lightweight record build.
Once your supports are mounted, the next closely related task is balancing that build across waves — damage first, then one defensive piece before each difficulty step-up.